

Styling your hair can be tricky if it lacks volume and length. It is too silky to stay put or too limp when you pin it up. So, the best remedy for this is hair extensions.
But what if you can’t find them in the market?
Don’t worry because you can easily make DIY clip in hair extensions yourself. So, tag along, and we’ll teach you how to make clip in hair extensions for your next event!
Understanding the Different Types of Hair Wefts
Before you start your clip in hair extensions DIY project, you must know the different weft types.
The first is a tape-in type extension. They don’t require any clips. So you can tape them to your hair for a flawless look.
Next are bonded hair extensions. However, you can’t make them at home.
Then there are the halo hair extensions. These are made of a single weft which uses a cloth base. You can easily use the discrete thread to attach these to your hair.
In the end, we have clip-in hair extensions. These are the most convenient and low-maintenance types of wefts and the ones we will learn to DIY in this post.
However, should you purchase them instead, you’ll find premium quality ones from SEGO hair, They have multiple shades, lengths, and weights to cater to your versatile needs.
Now, let’s see how to make clip in hair extensions.
Preparing Your Materials
Get your threads and needles ready to make your DIY clip in hair extensions.
You will need the following:
- Wig clips
- Needle and thread
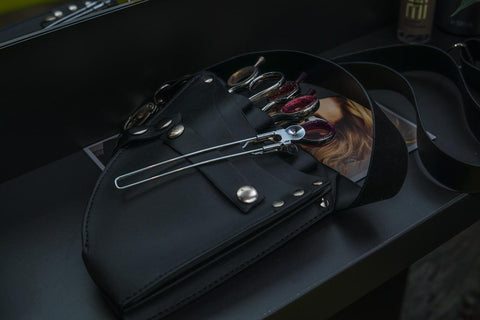
- Scissors (preferably hair scissors)
- Measuring tape
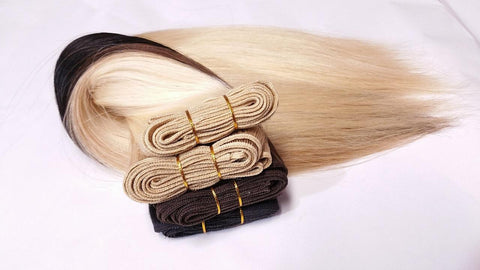
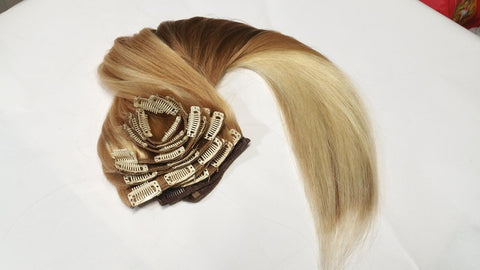
- Natural hair wefts
Preparing Your Hair Wefts
Once you've gathered your materials, you must start making the extensions. First, choose the right length. Select the part of your head where you’ll attach the hair extensions. Next, measure the region's circumference and length.
Double the thread as you thread your needle to make the wefts. This will give your extensions more volume. Next, stitch them together.
The wefts should be doubled when you unwrap your bundles.
To flatten the ends, ensure you stitch the ends thoroughly with the thread piercing the weft. You can then stitch together the weft region covering the head for the middle parts on each end.
Alternatively, you can glue them together. However, ensure you don’t get the glue on the extension hair while doing so. And remember to wait for the glue to set before combining the wefts.
When your wefts are ready, you have to attach clips to them. Furthermore, you need almost five clips for a secure grip. Use your needle and thread to sew them together.
Styling Your Extensions

Once your DIY clip in hair extensions are ready, it’s time to style them. So, get your scissors ready and awaken the hairdresser in you!
To cut the bangs, bring the hair to the front and comb it out. Next, bring the section from each side towards the center and hold it in a triangle. Next, hold it between one hand's index and middle finger and cut it with the other.
Then, even out the edges and give it a neat finish.
Now, the clip in hair extensions DIY is successful. You can try the extensions and see how the bangs look around your face.
Moreover, you can curl the wefts and wear them in a ponytail or straighten them in loose hair. Regardless, you now have voluminous hair for every event!
Customizing Your Extensions

There are multiple ways to customize your extensions. It all depends on what type of look you want and what your natural hair looks like. Depending on this, you can create wefts of various lengths and volumes.
The standard lengths include the following:
- A 13 cm weft if you start at your nape.
- A 23 cm weft to attach at the back of your head.
- Two ten cm wefts if you want to attach them above your ears.
- Three cm wefts for filling in.
Regardless, this is just a guide to customize them according to your requirement.
FAQs
How to make hair extensions?
You can make your DIY clip in hair extensions using tools like wefts, thread, and needles. Choose an appropriate length and thickness for your hair wefts. Next, stitch them together and then sew the weft clips on them.
You can also double the wefts to create more volume. However, ensure there are enough weft clips to hold the locks together.
Otherwise, your extensions won't stay on your hair, especially if it's thin and silky.
How to make clip-ins?
You can make clip-in hair extensions by sewing the wefts onto weft clips. This way, your extensions won’t come off your hair, even if it's silky. Use at least two to five clips to get maximum stability.
Additionally, loop the thread through the clip at least twice to get a sturdy attachment. This will secure the wefts on the clips.
How to sew clips on extensions?
Use your needle and thread for this. Move the needle through your weft and the clip on each end. Additionally, repeat this action to create a sturdy stitch.
Furthermore, using two to five clips will give the extensions enough base support when you clip them in your hair.
How to put hair extensions in with clips?
First, detangle your hair and separate it into sections. Next, choose the extensions you want to clip in. Now, clip the wefts into your hair partitions.
Find a spot that feels comfortable and looks appropriate. Don’t attach them too close to your scalp. For further details, you can check out a comprehensive guide here.
Conclusion
This concludes our post on making your DIY hair extensions. However, if you don’t want to make all that effort, you can get high-quality ones from SEGO Hair at the best price.
So, good luck with your DIY artificial hair!